
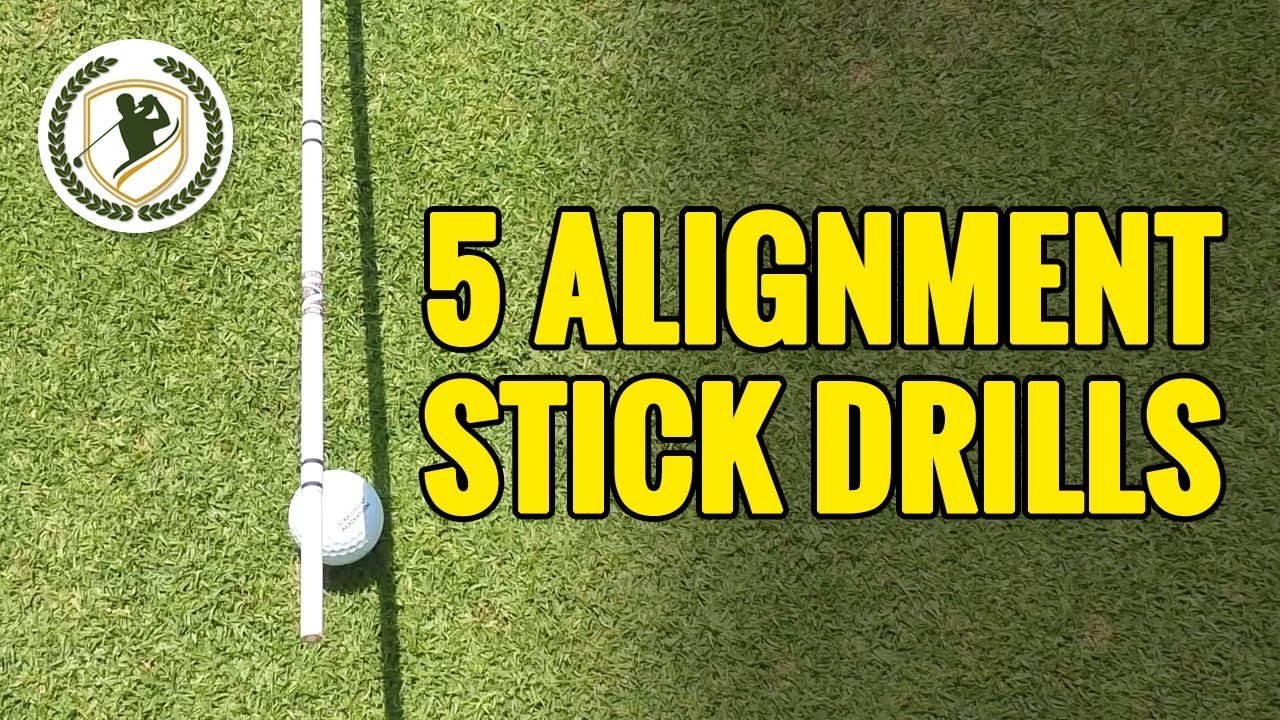
Golf Swing Improvement: Alignment Stick Drills Summary
Golf swing improvement doesn’t always require a launch monitor, a lesson package, or a full simulator. In this Scratch Golf Academy video, Adam Bazalgette shows how two inexpensive alignment sticks can give you immediate visual feedback on aim, takeaway, body stability, and hip rotation. Watch the original YouTube video from approximately 00:00, where Bazalgette introduces the five-drill sequence.
The central idea is simple: an alignment rod creates an external reference that your eyes and body can understand. It can reveal an open setup, a club moving too far inside, excessive movement during the backswing, or a trail hip that slides instead of turning. That feedback is useful for beginners building golf swing fundamentals, intermediate players diagnosing a recurring fault, and advanced golfers sharpening pre-shot alignment and clubface control.
These drills support—not replace—the essentials: a functional golf grip, balanced golf stance, athletic golf posture, suitable ball position, consistent tempo and rhythm, effective weight transfer, and a reliable impact position. As demonstrated in the video, the sticks are measuring aids rather than restraints. You should still make a flowing swing rather than a stiff, manufactured motion.
For practice, use the drills with a clear purpose. Train the setup before you train the backswing; train the backswing before you judge the downswing; and judge every change by contact, starting direction, and balance. Scratch Golf Academy’s creator explains that simple visual feedback can help you maintain a good golf swing, but the best results come from repeating one cue at a time.
TL;DR: The Five Alignment Stick Drills for Golf Swing Improvement
Here’s the quick reference for the five drills shown from about 00:55 through 08:20. Each one addresses a different part of golf swing improvement, so you can select the drill that matches your miss rather than practicing randomly.
- Parallel target-line drill, about 00:55: improves setup alignment, aim, and starting direction. Use it for pulled shots, poor aim, and inconsistent clubface control.
- Intermediate-target alley, about 02:05: builds a repeatable pre-shot routine and makes you aim the clubface to a forward reference, much like a real golf hole.
- Takeaway guide, about 03:35: helps identify an overly inside, outside, or upright takeaway while preserving natural tempo and shoulder rotation.
- Stillness-and-contact drill, about 05:35: reveals excess body movement that can produce topped shots, fat shots, and an unstable low point.
- Hip-rotation checkpoint, about 07:05: distinguishes a turning trail hip from a lateral sway during the backswing.
Start with two sets of controlled repetitions for each drill. Then hit balls while keeping the same setup or movement cue. Record starting direction, strike quality, and finish balance. A useful target is at least of shots starting inside your intended corridor and of finishing in balance.
Do not freeze your motion to satisfy the rods. The creator explains that a takeaway should have flow, not be placed with small control muscles. Your natural tempo, rhythm, wrist hinge, pivot, and follow-through still matter. In our experience, the stick is most useful when you glance at the reference before or after a swing, then return your attention to the shot.
Drill 1: Build Reliable Alignment for Golf Swing Improvement
At approximately 00:55, Bazalgette places two alignment sticks on the ground to form a visible target line. His key instruction is to aim the clubface first, rather than trying to aim your entire body directly at the target. This distinction matters because the clubface largely controls the ball’s starting direction, while the relationship between clubface and club path influences curvature. A face pointed right with a path farther left can create a slice; a face pointed left with a path farther right can create a hook.
Build the setup in this order:
- Place the clubface behind the ball and align its leading edge or face markings with the target line.
- Keep the clubface still while you position your feet, knees, hips, and shoulders parallel to the line.
- Check your golf grip without rotating the face during the final setup.
- Confirm ball position: typically farther forward for a driver and progressively farther back for shorter clubs, while allowing for your own delivery pattern.
- Adopt balanced golf posture with a slight hip hinge, relaxed arms, and pressure distributed through both feet.
The visible line exposes a common error: many golfers aim their shoulders and feet first, then unconsciously alter the clubface to match. For better golf swing improvement, rehearse this sequence five times without hitting, hit balls, and classify each shot as starting left, on line, or right. Reset the sticks if the reference becomes confusing, and place them outside the club’s normal strike area.
Use a face-on camera to check ball position and posture, and a down-the-line camera to check whether your body lines are parallel. The USGA Rules Hub is useful for confirming equipment and practice-area rules, but the practical test is simple: can you aim the face consistently without changing it while building your stance?
Drill 2: Use an Intermediate Target for Better Golf Swing Improvement
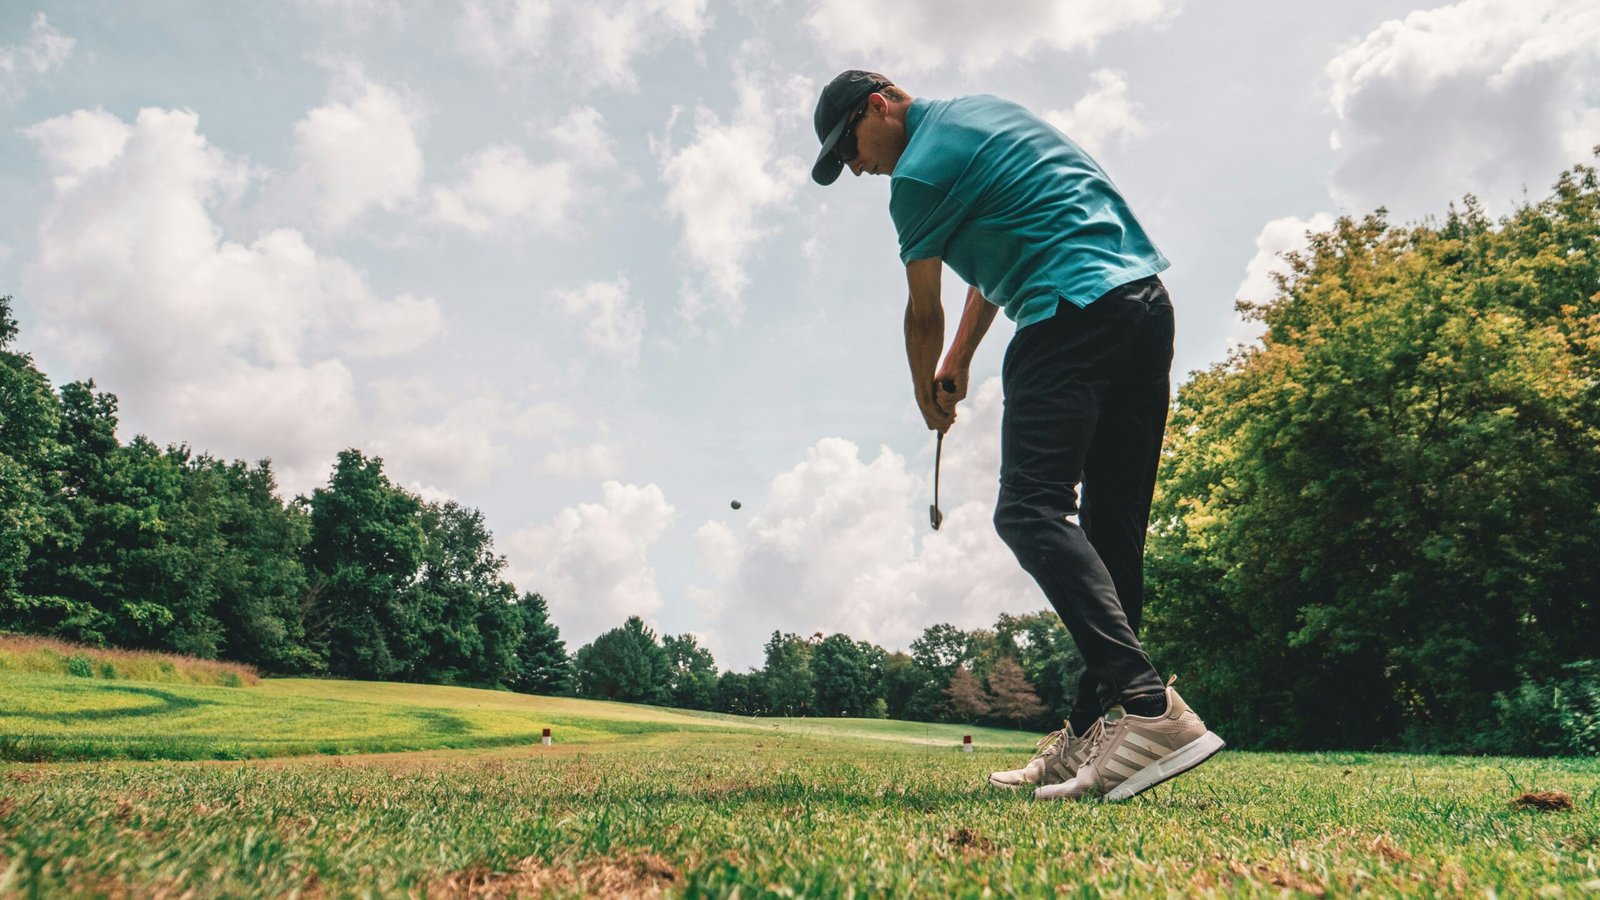
At about 02:05, the video demonstrates a more advanced alignment exercise: two rods form a narrow alley several feet to a few yards in front of the ball. Bazalgette connects the idea with Jack Nicklaus’s reported habit of choosing an intermediate spot on the ground, aiming the clubface at that spot, and then building the rest of the stance around the club.
The forward gate is more demanding than rods beside the ball. When the reference is next to your feet, you can repeatedly adjust until the setup looks comfortable. When the reference is several feet ahead, you must read the target line from behind the ball and take responsibility for the face. That makes the exercise closer to a real pre-shot routine, where you rarely have a straight line painted beside the ball.
Use this sequence:
- Stand behind the ball and select a small intermediate target, such as a leaf, discolored blade of grass, or the center of the rod gate.
- Step in with your trail foot first, as demonstrated in the video, so your forward view remains available.
- Place the clubface through the gate and avoid re-aiming it after your stance is built.
- Set the lead foot, then position the trail foot, hips, shoulders, and knees parallel to the intended line.
- Make one committed swing with your normal tempo.
On a reasonably sized range slot, Bazalgette says you may get roughly to range-ball shots before moving the rods, depending on safety and space. That is a useful practical limit: shift the gate when divots, ball marks, or changing aim make the visual reference unreliable. For golf swing improvement, combine alignment rehearsals with balls and record whether the ball starts inside a chosen target corridor.
Drill 3: Train the Takeaway and Backswing
At approximately 03:35, Scratch Golf Academy uses an angled rod as a visual guide for the takeaway. The video references Justin Thomas and Rory McIlroy: Thomas’s early club movement tracks near the target line, while McIlroy’s is slightly above it. The useful general principle is not to copy a professional’s exact motion; it is to avoid assuming that one perfect position exists for every golfer.
Customize the guide to your club and posture. Set one rod along the target line, then angle the second rod so it roughly matches the relationship between your shaft, lead arm, and upper body at the start of the backswing. If the club commonly whips too far inside, rehearse with the imaginary ball slightly outside the guide so the club moves nearer or just above the target line. If the club moves too far outside, use the opposite side of the reference.
The takeaway affects the later swing plane, wrist hinge, shoulder rotation, pivot, and club path. An overly upright backswing may indicate excessive lifting and insufficient body pivot. A club pulled sharply inside may reflect active hands, an early wrist roll, or a clubhead that gets trapped behind the torso. As the creator explains, the answer is often a calmer arm motion and more connected rotation, not a forced position.
| Observed fault | Possible contributor | Useful rehearsal |
|---|---|---|
| Too far inside | Excess hand action or an overactive clubhead | Keep the clubhead more passive and in front of the hands |
| Too far outside | Excessive lift or poor pivot | Allow the shoulders and torso to turn the club away |
| Too upright | Insufficient rotation and too much arm lift | Use lower, calmer arms with more shoulder turn |
Do not rehearse slowly until the club is placed into position. Make five flowing takeaways, then half-swings, then normal shots. Keep the same tempo and rhythm; a guide that improves one frame but ruins the downswing or impact position isn’t helping your golf swing improvement.
Drill 4: Improve Contact by Monitoring Stillness
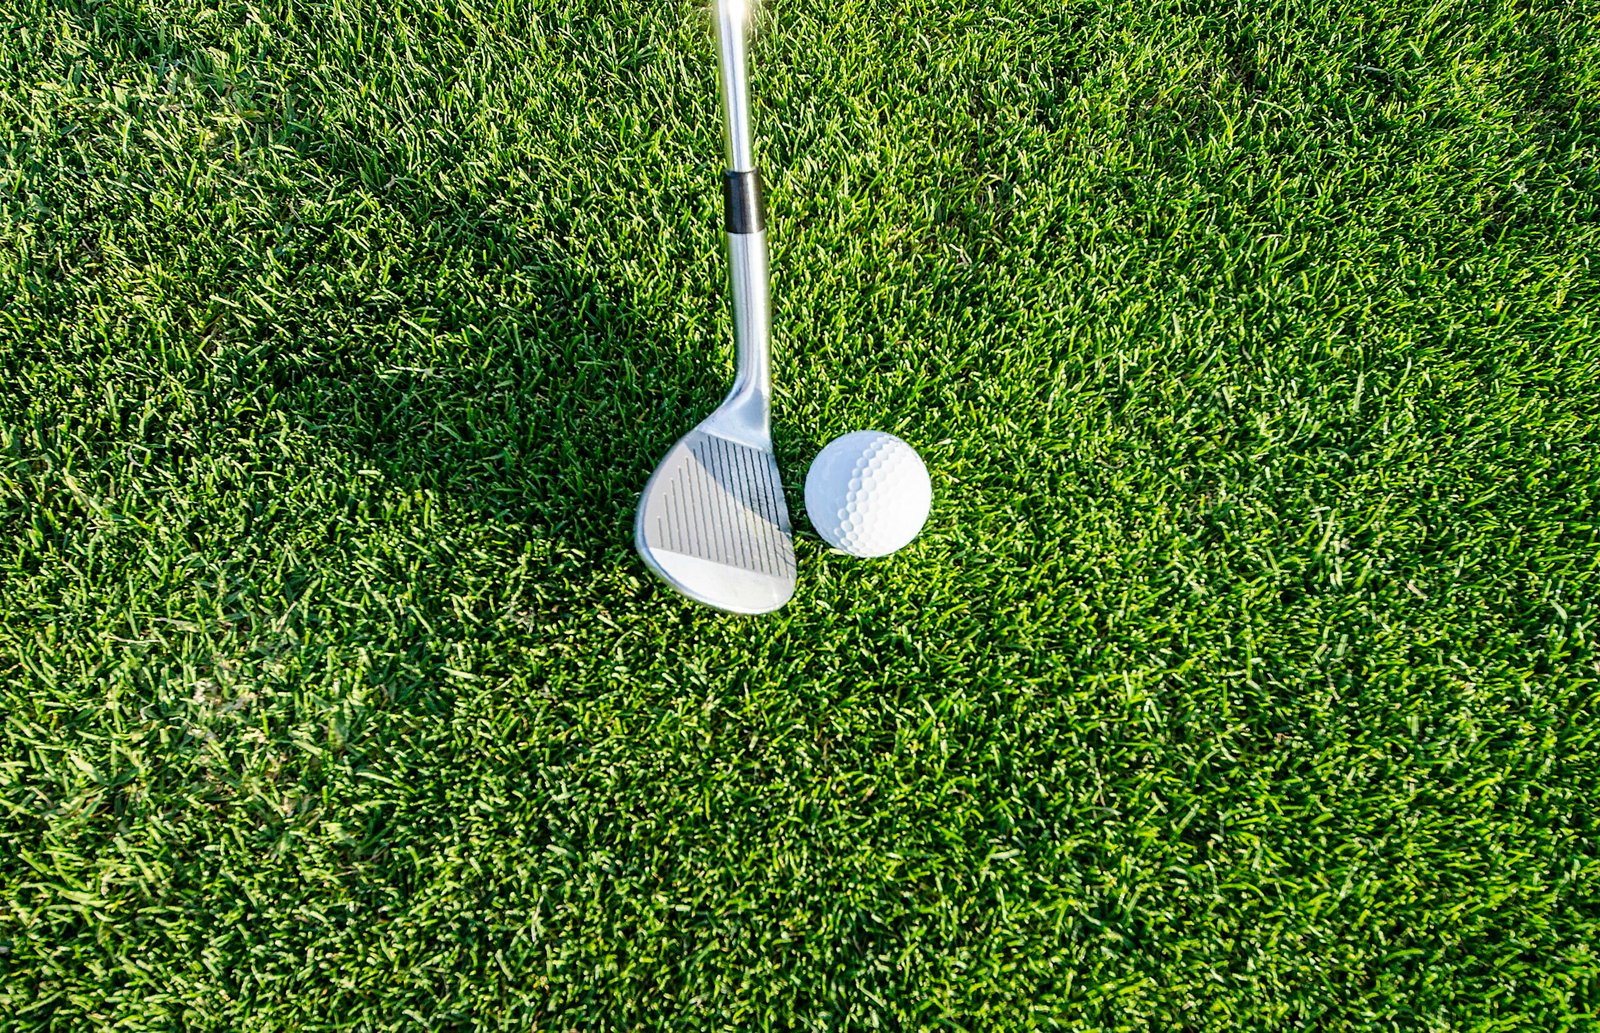
At approximately 05:35, the creator places a rod in the ground at an angle and positions golf balls beneath or close to it. From the golfer’s view, the rod becomes a reference for how the body and ball relate during the swing. If that relationship changes markedly, you are probably moving excessively. If it remains relatively stable, you have better control of posture and centered motion.
This is not a head-down or body-frozen drill. Excess movement can shift the low point, alter the attack angle, and make impact position unpredictable, but some rotation and pressure shift are necessary. A golfer who slides away from the target may strike behind the ball; one who rises early may catch the top. The rod helps you notice the pattern before guessing at a technical fix.
Bazalgette specifically recommends the exercise for chips and pitches. Short-game shots reduce the number of moving parts, making it easier to feel stable posture, predictable ball position, and a controlled finish. Try this protocol:
- Make five practice swings while watching the rod-ball relationship.
- Hit five wedge half-swings with relaxed breathing.
- Hit chips or pitches and rate movement from 1, minimal, to 5, substantial.
- Record contact quality, low-point consistency, and whether the ball was topped or struck fat.
- Repeat only one adjustment, such as maintaining pressure through the lead foot or keeping the torso centered.
The video warns that golfers often become absorbed in the ball and outcome, then forget the movement they were training. Give the drill deliberate attention, but retain a balanced follow-through. For golf swing improvement, awareness is the goal—not artificial stillness.
Drill 5: Improve Hip Rotation Without a Sway
At about 07:05, Bazalgette inserts a rod into the ground on a slight inward slope and places his trail ankle close to it. The rod acts as a checkpoint for lateral movement during the backswing. A trail hip that bumps into the rod is likely sliding away from the target; a functional pivot allows the trail side and glute to rotate behind you as the torso turns.
This movement supports weight transfer, hip rotation, shoulder rotation, and the transition into the downswing. You are not trying to keep the pelvis perfectly still. You are allowing the right side for a right-handed golfer—or trail side generally—to turn back and create room for the arms and club. That can help the club approach impact with a more repeatable path and preserve balance through the follow-through.
The creator rejects artificial fixes such as placing a ball beneath the outside of the foot or wedging the foot to stop the knee from moving. Those methods may restrict motion without teaching a functional pivot. He also gives an important opposite warning: if there is too much space between the ankle and rod, your turn may be too flat, so you may need a slightly steeper rotation rather than forcing the hip inward.
- Rehearse the trail-side turn without a club for repetitions.
- Make slow half-swings while keeping the ankle near the checkpoint.
- Hit five short-iron shots at reduced speed.
- Test five normal-speed shots and check whether you finish balanced.
- Review face-on video for sway and down-the-line video for posture and club path.
For golf swing improvement, judge the result by strike, balance, and a natural transition—not by how tightly you can trap your hip against the rod.
How These Drills Support Full-Swing Golf Swing Improvement
The five exercises map onto different stages of the full motion. The first two train alignment before the swing; the third trains the takeaway and backswing; the fourth monitors centered movement and low-point control; and the fifth develops a more useful pivot for the transition and downswing. Together, they connect setup, swing plane, weight transfer, impact position, and follow-through without pretending that one stick can solve every fault.
Alignment rods provide external feedback. They do not directly measure face angle, club path, attack angle, strike location, or carry distance. When available, pair them with objective tools such as a launch monitor. TrackMan’s golf technology overview explains the types of measurements commonly used for ball flight and club delivery, including face-to-path relationships and impact data. You don’t need such equipment for every session, but it can clarify whether a visual change actually improves the shot.
Use two camera angles:
- Face-on: review ball position, posture, hip sway, weight transfer, impact position, and finish balance.
- Down-the-line: review alignment, takeaway, backswing plane, club path, and the relationship between the hands and body.
Record one swing at normal speed and one in slow motion. Normal speed reveals tempo and rhythm; slow motion reveals whether wrist hinge, lag, shoulder rotation, and the pivot are occurring naturally. Scratch Golf Academy’s official website is also the home resource mentioned by Bazalgette. Around 03:25, he references a free solid-strike course; verify the current offer before registering because course availability can change.
This layered approach makes golf swing improvement more reliable: use the rod to notice, video to compare, ball flight to evaluate, and data to confirm when possible.
A Four-Week Practice Plan for Golf Swing Improvement
A short, measured plan is more useful than hitting unfocused balls. The following four-week schedule uses the video’s drills while preserving tempo, rhythm, and normal shot-making. Keep sessions to roughly to minutes, and change only one movement cue at a time.
Week 1: Align before you swing
Spend minutes on the parallel target-line drill and intermediate-target alley. Complete alignment rehearsals and balls. Mark each shot as left, right, or on line, then record whether the miss began with a face issue or a setup issue.
Week 2: Add the takeaway guide
Make flowing rehearsals, half-swings, and normal shots. Check whether the club is too far inside or outside, but don’t sacrifice natural tempo to reach a preferred position. Film five swings down the line.
Week 3: Stabilize contact
Use wedges and short irons with the angled stillness drill. Hit three groups of balls and record centered contact, low-point consistency, and the number of topped or fat shots. Rate movement from to after each group.
Week 4: Transfer the pivot to play
Combine the hip-rotation checkpoint with the alignment routine. Hit balls in random practice, changing targets and clubs after each shot. This forces your pre-shot routine and golf swing improvement work to transfer beyond a blocked practice station.
Set four measurable goals: at least of shots starting within the target corridor, fewer one-sided misses, improved centered contact, and a balanced finish on at least of swings. Your log should include club, drill, ball flight, strike quality, and one adjustment for the next session.
Choosing the Right Drill for Your Golf Swing Fault
Match the drill to the evidence rather than guessing from the shape of the shot. A slice, for example, can involve an open clubface, an outside-to-inside club path, poor alignment, or several factors at once. Golf swing improvement becomes faster when you separate starting direction from curvature: starting direction gives you useful information about the face, while curve shows the face-to-path relationship.
- Slice or shots starting too far right: begin with the target-line and intermediate-target drills. Then use the takeaway guide to check for an excessively outside or disconnected motion. Don’t assume the grip is the only cause.
- Hook or shots starting too far left: verify clubface alignment first, then assess whether an inside takeaway or excessive hand action is affecting clubface control and club path.
- Topped shots: prioritize the stillness drill, posture, ball position, and low-point control. Avoid trying to keep your head artificially down.
- Fat shots: check excessive lateral movement, poor weight transfer, and inconsistent attack angle. The angled rod can show whether your body moves away from the ball.
- Inconsistent contact despite good aim: use face-on and down-the-line video to compare the takeaway, backswing, downswing sequence, impact position, and follow-through.
Safety matters. Put rods outside the club’s normal strike area whenever possible, use short swings when working near a stick, and leave enough room for neighboring range users. Move the equipment if other golfers could be hit by a shank, ricochet, or misplaced shot.
Conclusion: Your Next Steps for Golf Swing Improvement
Two alignment sticks can make invisible parts of the golf swing visible. The parallel-line drill teaches you to aim the clubface first; the intermediate gate builds a realistic pre-shot routine; the takeaway guide checks the early club path; the stillness drill improves awareness of posture and low point; and the hip checkpoint encourages rotation instead of a lateral sway.
Start with the fault you can describe most clearly. If your shots begin in different directions, spend a week on alignment. If contact is unreliable, use the angled rod with wedges before moving to full swings. If the backswing feels disconnected, rehearse a flowing takeaway and film it from down the line. Keep the clubface, swing plane, wrist hinge, shoulder rotation, weight transfer, attack angle, and impact position connected to the ball flight rather than chasing isolated positions.
According to Scratch Golf Academy, the rods are feedback tools, not devices that force a perfect swing. Use two sets of repetitions, follow with purposeful balls, and write down one adjustment. In 2026, that simple process remains a practical route to golf swing improvement because it gives you a repeatable way to observe, test, and retain a better motion.
Additional Practice Notes for Golf Swing Improvement
Use your phone as a simple feedback system. Put it on a stable tripod, capture five swings face-on and five down the line, and compare only one item at a time. A face-on view can reveal ball position and excessive sway; a down-the-line view can reveal alignment, takeaway direction, and whether the club is being lifted or pulled inside.
When you have access to a launch monitor, record starting direction, face angle, club path, attack angle, carry distance, and strike location. Three or four sessions of data are more useful than one unusually good shot. The best golf swing improvement practice combines what you feel, what the video shows, and what the ball actually does.
Key Takeaways
- Aim the clubface first, then build your feet, hips, shoulders, and knees parallel to the target line.
- Use an intermediate-target alley to make alignment responsibility feel more like a real pre-shot routine.
- Rehearse the takeaway with flow; the guide should reveal a fault without forcing a rigid swing.
- Use the angled rod to monitor excessive movement, low-point control, and hip sway rather than freezing your body.
- Practice one cue at a time, measure starting direction and strike quality, and transfer the drills through random practice.
Frequently Asked Questions
What is the fastest way to improve my golf swing?
The fastest practical route is to identify one measurable fault, use a drill that gives immediate feedback, and hit a small number of purposeful shots. Start with alignment and centered contact, complete two sets of rehearsals, then hit balls while recording starting direction and strike quality. Avoid changing your grip, takeaway, posture, and downswing all at once.
How far should a year old man hit a driver?
There is no single correct distance because swing speed, strike quality, equipment, fitness, and playing conditions vary widely. A better benchmark is consistent carry and accuracy: track reasonably struck drives rather than your longest drive, and use launch-monitor data if available. Improving centered contact and attack angle can add useful distance without swinging harder.
Who has the smoothest golf swing ever?
Smoothness is subjective, but golfers often mention Ernie Els, Fred Couples, and Sam Snead because their swings appear coordinated and unhurried. The useful lesson isn’t to copy a professional’s positions; it’s to develop your own repeatable tempo, rhythm, pivot, and balanced finish.
What is the best exercise to improve your golf swing?
For this video’s purpose, the best exercise is the one that addresses your actual fault: the alignment alley for aim, the takeaway guide for club movement, the stillness drill for contact, or the hip checkpoint for sway. Off the course, rotational strength, hip mobility, and single-leg balance can support the motion, but they don’t replace skill practice with a club.
How many alignment sticks do you need for these drills?
Most of the video’s exercises use two alignment sticks, although the stillness and hip-rotation checkpoints can be performed with one rod. Keep the sticks outside the club’s strike area and use shorter swings when a rod is close to your body or ball.